
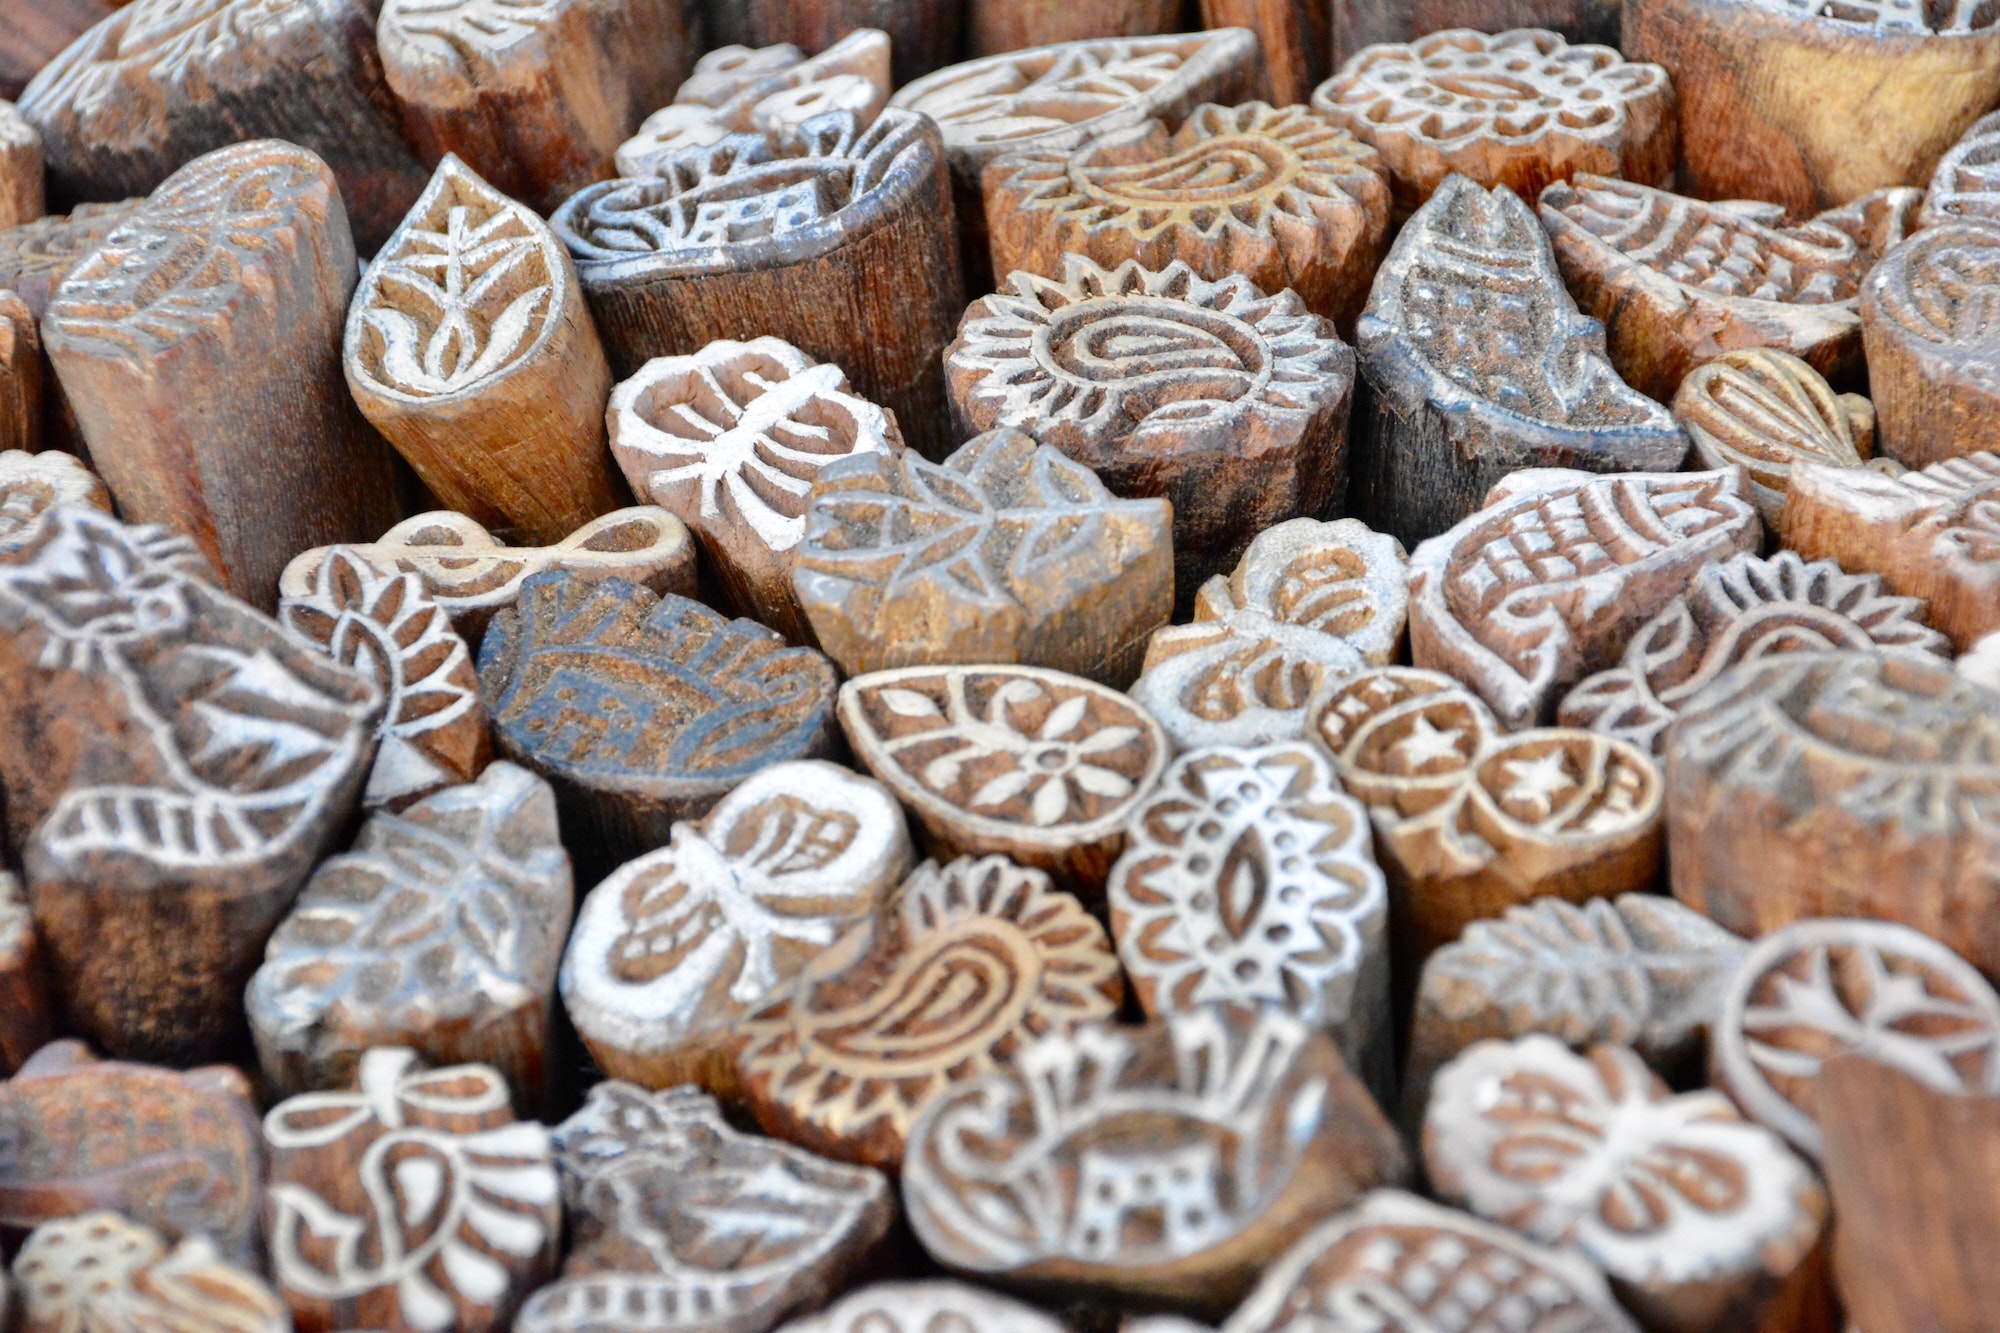
Custom clear stamps are a fun and creative way to personalize your crafts, whether it’s for scrapbooking, card making, or home décor. They’re also an excellent choice for small businesses looking to add a personal touch to their packaging. Creating your own custom designs with stamps can be easy and affordable with the right materials and a little bit of patience. In this article, we’ll go over the materials you’ll need and the steps to create your very own custom clear stamps.
To begin, you will need the following materials:
- Photopolymer resin kit: This is the primary material used to create your custom clear stamps. Photopolymer resin is sensitive to UV light and hardens when exposed to it. You can find photopolymer resin kits online or at specialty craft stores.
- UV light source: A UV light source is necessary to cure (or harden) the photopolymer resin. You can use a UV lamp designed for curing nail polish, a UV flashlight, or even direct sunlight on a sunny day.
- Transparency sheets or negatives: These will be used to create your custom design for your stamp. You can print your design onto transparency sheets using an inkjet printer or create a negative image using traditional darkroom techniques.
- Acrylic blocks: These are used as a base for your stamp once the photopolymer resin has hardened. Acrylic blocks come in various sizes, so choose one that fits your design.
Now that you have all the necessary materials let’s go through the steps to create your custom clear stamps:
Step 1: Create your design
First, you’ll need to create a design for your stamp. You can draw it by hand or use graphic design software like Adobe Illustrator or Canva. Keep in mind that any white areas in your design will not pick up ink when stamped, so consider this when creating intricate designs.
Once you’re happy with your design, print it onto a transparency sheet or create a negative image. Make sure the design is printed in black ink to block out the UV light during the curing process.
Step 2: Prepare the photopolymer resin
Follow the instructions on your photopolymer resin kit to mix the resin properly. You’ll want to ensure you’re working in a well-ventilated area and wearing gloves to protect your skin from any potential irritation.
Step 3: Create the stamp
Place your design on a flat surface, with the printed side facing down. Pour a thin layer of photopolymer resin over your design, ensuring it covers the entire design evenly. Carefully place an acrylic block on top of the resin, pressing down gently to remove any air bubbles.
Step 4: Cure the resin
Place your stamp with the acrylic block under your UV light source. The curing time will depend on the strength of your UV light and the thickness of the resin layer. Refer to your photopolymer resin kit’s instructions for recommended curing times.
Once cured, carefully remove the acrylic block from the transparency sheet, and you should have a clear stamp with your custom design!
Step 5: Clean and trim your stamp
Use a soft brush and warm water to gently clean any residue from your stamp. You can then use scissors or a craft knife to trim away any excess material around the edges of your design.
Now you have a custom clear stamp ready to use on all your crafting projects! Be sure to clean your stamp after each use with warm water and mild soap to keep it in good condition.
With this technique, you can create an endless variety of custom designs for your stamps, adding a personal touch to all your crafts. So go ahead and unleash your creativity with custom clear stamps!
