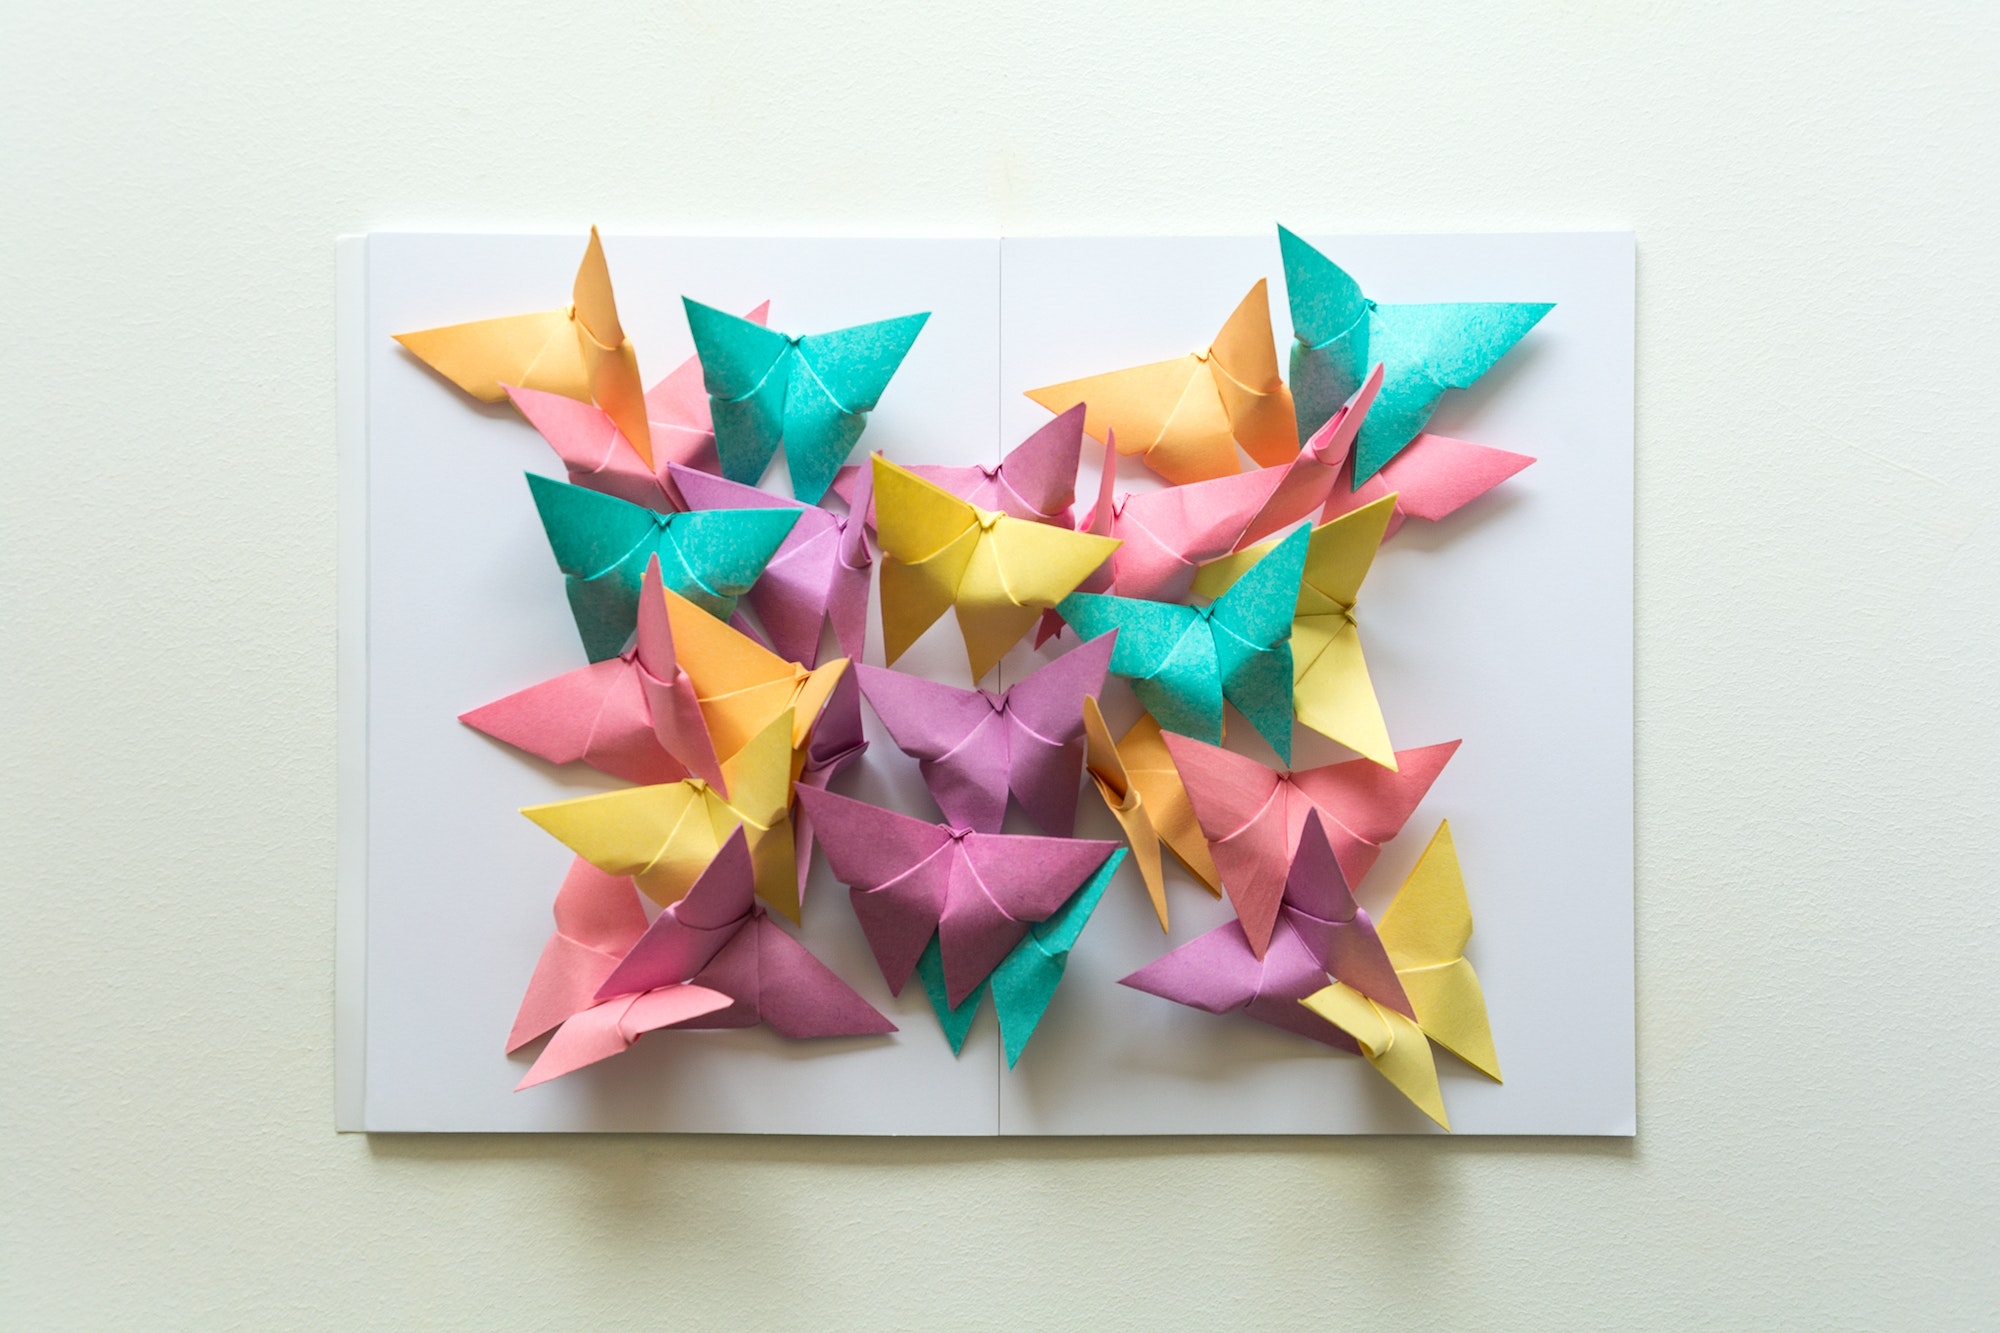
Origami, the ancient Japanese art of paper folding, has been a popular craft for centuries. With just a few simple folds, a piece of paper can be transformed into a beautiful and intricate design. One of the most delightful origami creations is the butterfly. Not only are they visually appealing, but they also symbolize transformation and new beginnings. This article will provide you with step-by-step instructions on how to create your own origami butterfly and share some ideas for incorporating these delightful folded creations into your home décor or gifting them to loved ones.
To begin, you will need a square piece of paper. Traditional origami paper works best, as it is thin and easy to fold, but any square piece of paper will do. The size of the paper will determine the size of your butterfly, so choose accordingly based on your desired final product.
Step 1: Fold the paper in half diagonally, creating a triangle. Unfold the paper and fold it in half diagonally in the opposite direction. You should now have an “X” crease in the center of your paper.
Step 2: Fold the paper in half horizontally, bringing the top edge down to meet the bottom edge. Unfold the paper and fold it in half vertically, bringing the right edge over to meet the left edge. Your paper should now have a “+” crease in addition to the “X” crease from step 1.
Step 3: With the paper in front of you like a diamond, fold the bottom corner up to meet the top corner, creating a triangle. Press down firmly on the creases.
Step 4: Take the left corner of the triangle and fold it down so that it meets the bottom corner. Repeat this with the right corner of the triangle. You should now have a diamond shape with two flaps at the bottom.
Step 5: Fold each flap up along the center crease, tucking them behind the top layer of paper. Your butterfly is now starting to take shape.
Step 6: Turn the paper over and fold the top corner down so that it meets the bottom corner. This will create the butterfly’s body.
Step 7: To create the butterfly’s head, fold the top of the body down slightly, creating a small triangle. Press down firmly on the crease.
Step 8: Gently pull apart the wings of your butterfly and admire your creation!
Now that you know how to create an origami butterfly, there are endless possibilities for how to incorporate these delightful folded creations into your life. Here are some ideas:
- Attach a string or ribbon to your butterfly and hang it in front of a window or from a light fixture for a whimsical touch.
- Create a mobile with several butterflies in various colors and sizes.
- Use origami butterflies as unique gift toppers or party favors.
- Scatter butterflies on a table for a whimsical centerpiece.
- Attach magnets to the back of your butterflies and display them on your refrigerator or other magnetic surfaces.
Origami butterflies also make thoughtful handmade gifts for friends and family. Consider including a personal message or inspirational quote on the paper before folding your butterfly as an added sentimental touch.
With these instructions and ideas, you’ll be well on your way to creating delightful origami butterflies that will bring beauty and joy into your life. Happy folding!


