Quilled peacock patterns are a beautiful and intricate form of paper art that showcases the stunning and vibrant colors of a peacock’s plumage. The art of quilling involves rolling or coiling thin strips of paper and shaping them into various designs. Animal patterns, in particular, are a popular choice for quillers as they provide an opportunity to create realistic and visually stunning representations of the natural world. Intermediate quilling patterns require a higher level of skill and patience but produce more detailed and complex designs.
Peacocks are well-known for their striking appearance and extravagant tail feathers, making them an ideal subject for quilling art. The quilled peacock pattern often features the bird with its tail feathers fanned out in a display of iridescent blues, greens, and golds. This intricate pattern requires precision and attention to detail, as well as a good understanding of various quilling techniques.
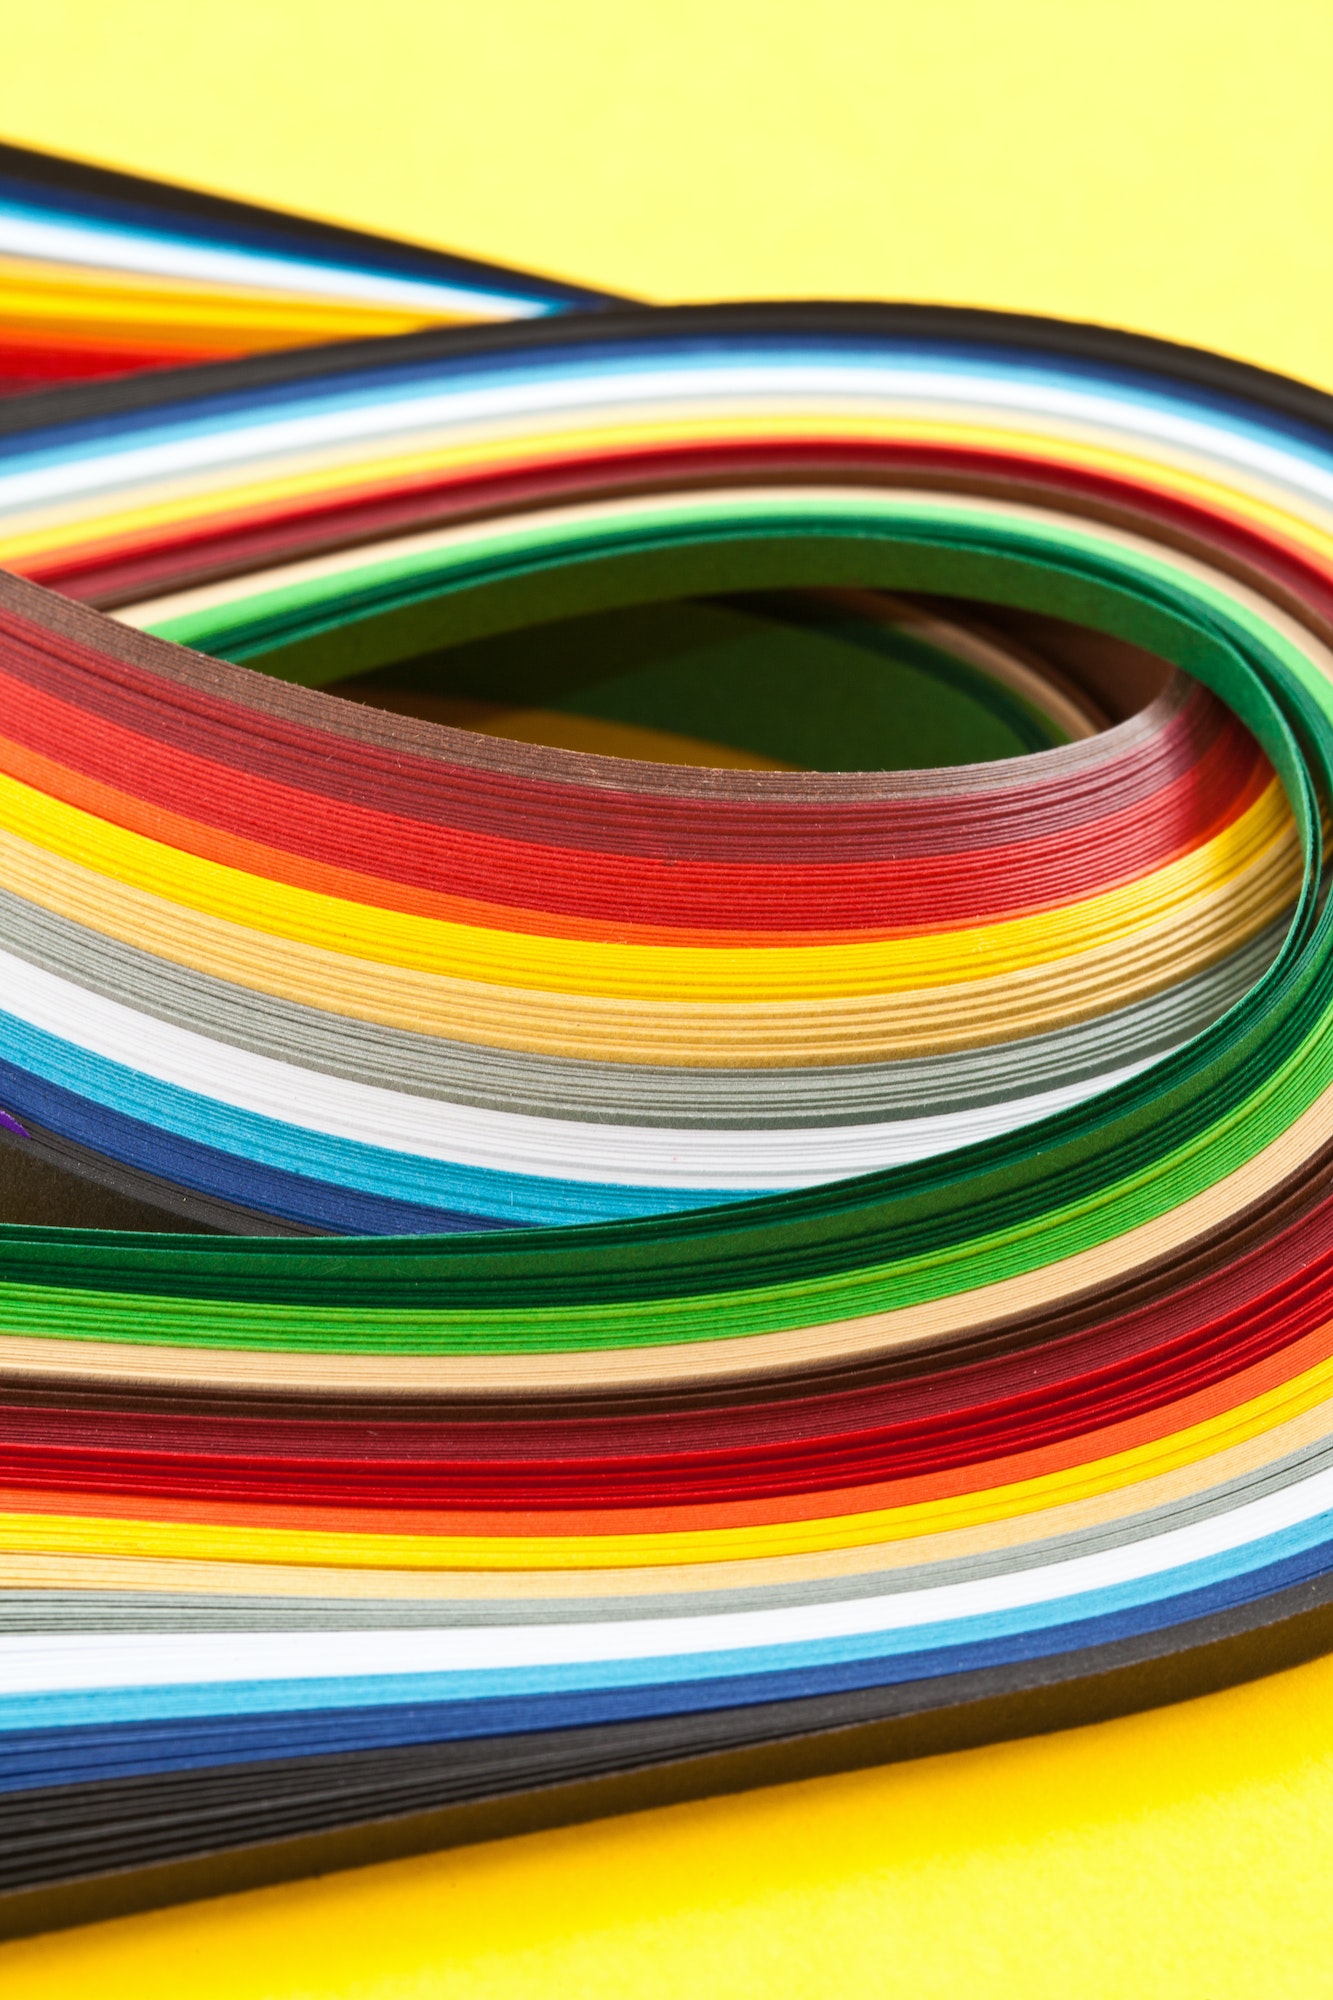
To create a quilled peacock pattern, you will need to gather the following materials:
- Quilling paper strips: Choose a variety of colors that mimic the natural hues of a peacock’s plumage. Blues, greens, golds, and purples are popular choices. You may also choose to incorporate metallic or shimmering papers for added visual interest.
- Quilling tools: A slotted quilling tool is essential for rolling the paper strips into tight coils. Tweezers can be helpful for placing and adjusting the strips in your design.
- Glue: A clear-drying craft glue is necessary for securing the paper strips in place.
- Template: A printed or drawn template of your desired peacock pattern can be useful for ensuring accurate placement and proportions.
- Background material: Consider mounting your finished quilled peacock on cardstock, canvas, or shadowbox frame for display purposes.
Begin by studying images of peacocks to familiarize yourself with their unique feather patterns and coloration. Next, choose the quilling techniques you will use to create the various elements of your design. Some popular quilling shapes that work well for peacock patterns include:
- Tight coils: These small, tightly wound circles are perfect for creating the “eye” spots on a peacock’s tail feathers.
- Teardrops: Rolled paper strips pinched into a teardrop shape can be used to form the body and head of the bird, as well as individual feathers.
- Marquise: This elongated oval shape can be used to create the long tail feathers that fan out from the peacock’s body.
- Scrolls: Loose, spiraling coils can add texture and movement to the design, particularly when used in the bird’s crest or tail feathers.
Once you have decided on your quilling techniques, begin by sketching or printing a template of your peacock pattern. This will serve as a guide for placing your quilled shapes and ensuring accurate proportions. Start by creating the main elements of your design, such as the body and head of the bird, using teardrop or marquise shapes.
Next, move on to the tail feathers, using tight coils for the eye spots and marquise shapes for the long, flowing plumes. Add additional layers of color and texture by incorporating scrolls or other embellishments throughout your design.
When all of your quilled shapes are complete, carefully glue them onto your chosen background material following your template as a guide. Allow ample time for the glue to dry before handling or displaying your finished quilled peacock pattern.
Creating a quilled peacock pattern is a challenging but rewarding project that showcases both your artistic skill and your appreciation for the beauty of nature. With patience and practice, you can create a stunning piece of intricate paper art that is sure to impress.