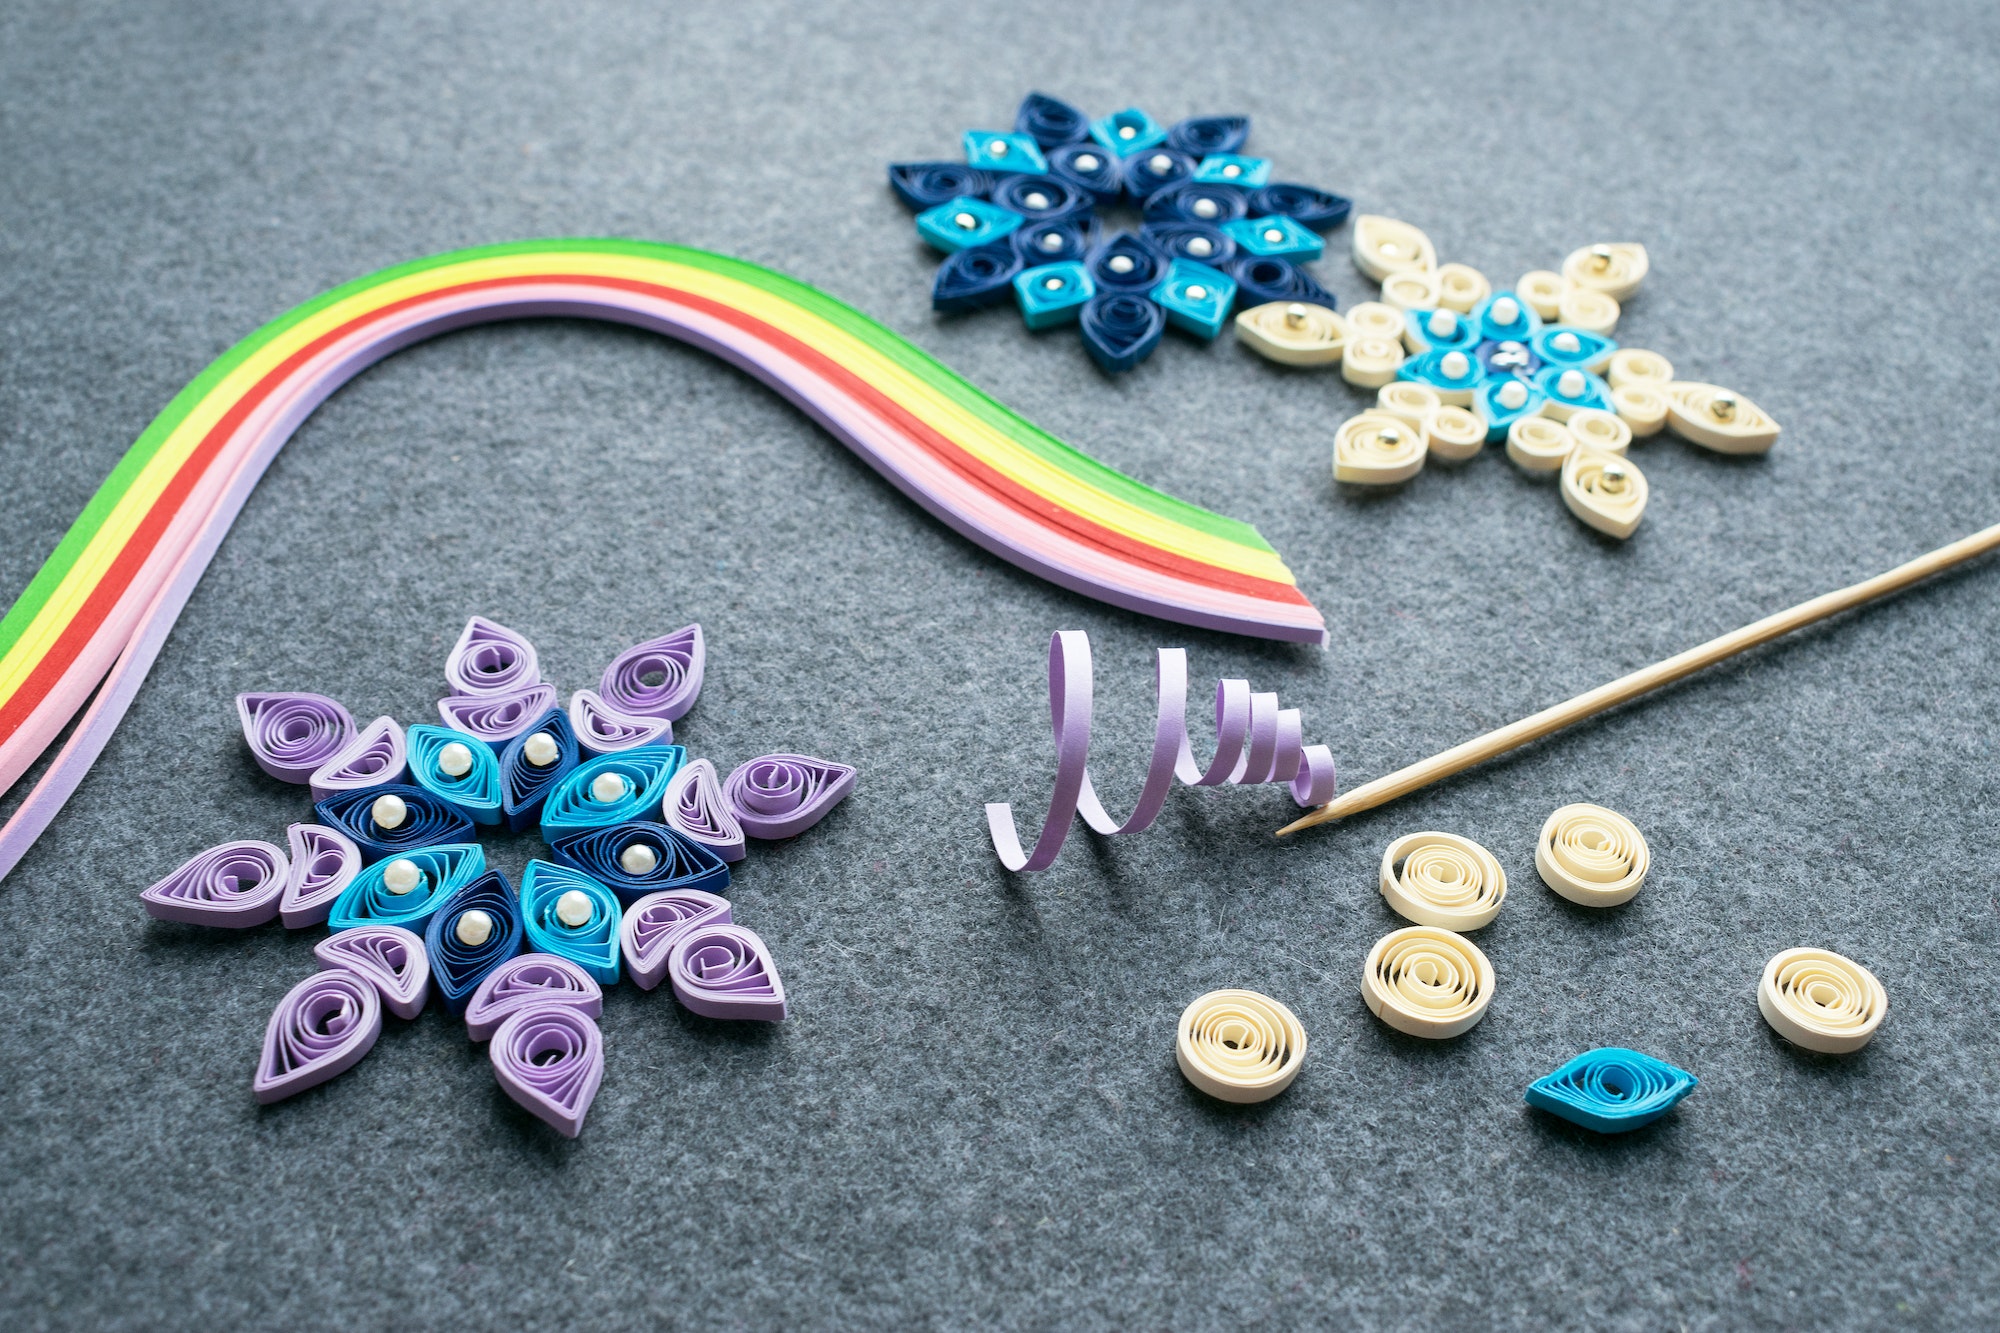
Quilling, also known as paper filigree, is an intricate and delicate art form that involves the rolling, shaping, and gluing of narrow strips of paper to create beautiful designs. This craft has been around for centuries and has recently gained popularity among craft enthusiasts. One of the essential tools in quilling is the circle sizer, which helps create uniform and precise circles. In this article, we will explore the various quilling tools available, including the circle sizer, and discuss some basic quilling techniques.
Quilling Tools
- Slotted Quilling Tool: This tool is the most commonly used in quilling. It has a thin metal shaft with a slot at one end where you insert the paper strip. You then twist the tool to roll the paper into a tight coil.
- Circle Sizer: The circle sizer is a template with various-sized holes used to create uniform circles. After rolling a coil using the slotted tool, you place it on the circle sizer to expand or adjust its size according to your desired measurement. This tool ensures consistency and precision in your quilling projects.
- Tweezers: Tweezers are helpful for picking up and positioning small quilled shapes onto your design.
- Glue: A good quality adhesive is essential for ensuring your quilled pieces stay together. Many quillers use white craft glue or clear-drying glue, applied with a fine-tip applicator or toothpick.
- Quilling Paper: Quilling paper comes in various widths, colors, and textures. The standard width is 1/8-inch (3mm), but wider or narrower strips can be used depending on your project requirements.
- Quilling Comb: This tool resembles a hair comb and is used to create loops and shapes by weaving the paper strips through its teeth.
- Border Buddy: A tool with various-sized shapes (like circles, squares, and triangles) used to create uniform borders by winding the paper strips around the shape.
Basic Quilling Techniques
- Rolling a Coil: Insert the end of a paper strip into the slot of the slotted quilling tool and twist the tool to roll the paper around it. When you’ve reached the desired size, gently slide the coil off the tool.
- Using a Circle Sizer: Place your rolled coil on the circle sizer and let it expand to your desired size. You can use a pin or your fingers to adjust the coil size if needed. Once you have achieved the desired size, apply glue to the end of the paper strip and press it down to secure the coil.
- Creating Shapes: Once you have mastered rolling coils, you can pinch or manipulate them into various shapes such as teardrops, marquises, squares, and hearts. These basic shapes can be combined to create intricate designs.
- Gluing Shapes Together: Use tweezers or a fine-tip applicator to apply glue to your quilled shapes and then carefully position them onto your project surface. Press down gently and hold for a few seconds to ensure proper adhesion.
- Quilling Comb Techniques: With a quilling comb, you can create loops or woven patterns by weaving the paper strips through the teeth of the comb in various patterns.
- Border Buddy Techniques: By wrapping paper strips around different shapes on a border buddy, you can create uniform borders for your quilling projects.
Quilling offers endless possibilities for creativity and personal expression. With an understanding of basic techniques and tools like the circle sizer, both beginners and experienced crafters can create stunning designs that add beauty and dimension to cards, home décor items, and more.


