
Painting on ceramic or porcelain surfaces can be a fun and creative way to personalize your home decor, create unique gifts, or even start a new hobby. However, it’s essential to understand the proper techniques and preparation needed for a successful project. This article will discuss how to prepare the ceramic surface for painting, as well as various painting techniques that can be used on different surfaces.
Preparing the Ceramic Surface
Before you begin painting on ceramic or porcelain, it’s essential to clean and prepare the surface properly. This will help ensure that the paint adheres well and lasts as long as possible.
- Clean the surface: Start by cleaning the ceramic or porcelain item with soap and water to remove any dust, dirt, or grease. Be sure to rinse thoroughly and allow it to dry completely before moving on to the next step.
- Choose the right paint: Acrylic paints are often recommended for painting on ceramics because they are water-based and easy to work with. However, you may also use specialized ceramic or porcelain paints that are designed specifically for these surfaces. These paints usually require baking in an oven after application to set the paint permanently.
- Apply a primer (optional): While not always necessary, applying a primer can help create a smoother surface for painting and improve paint adhesion. Choose a primer specifically designed for ceramic or porcelain surfaces and follow the manufacturer’s instructions for application.
- Lightly sand the surface (optional): If you’re working with a glossy ceramic or porcelain piece, you may want to lightly sand the surface with fine-grit sandpaper (400-600 grit) to create a slightly rougher texture for better paint adhesion. Be sure to wipe away any dust created by sanding before proceeding with painting.
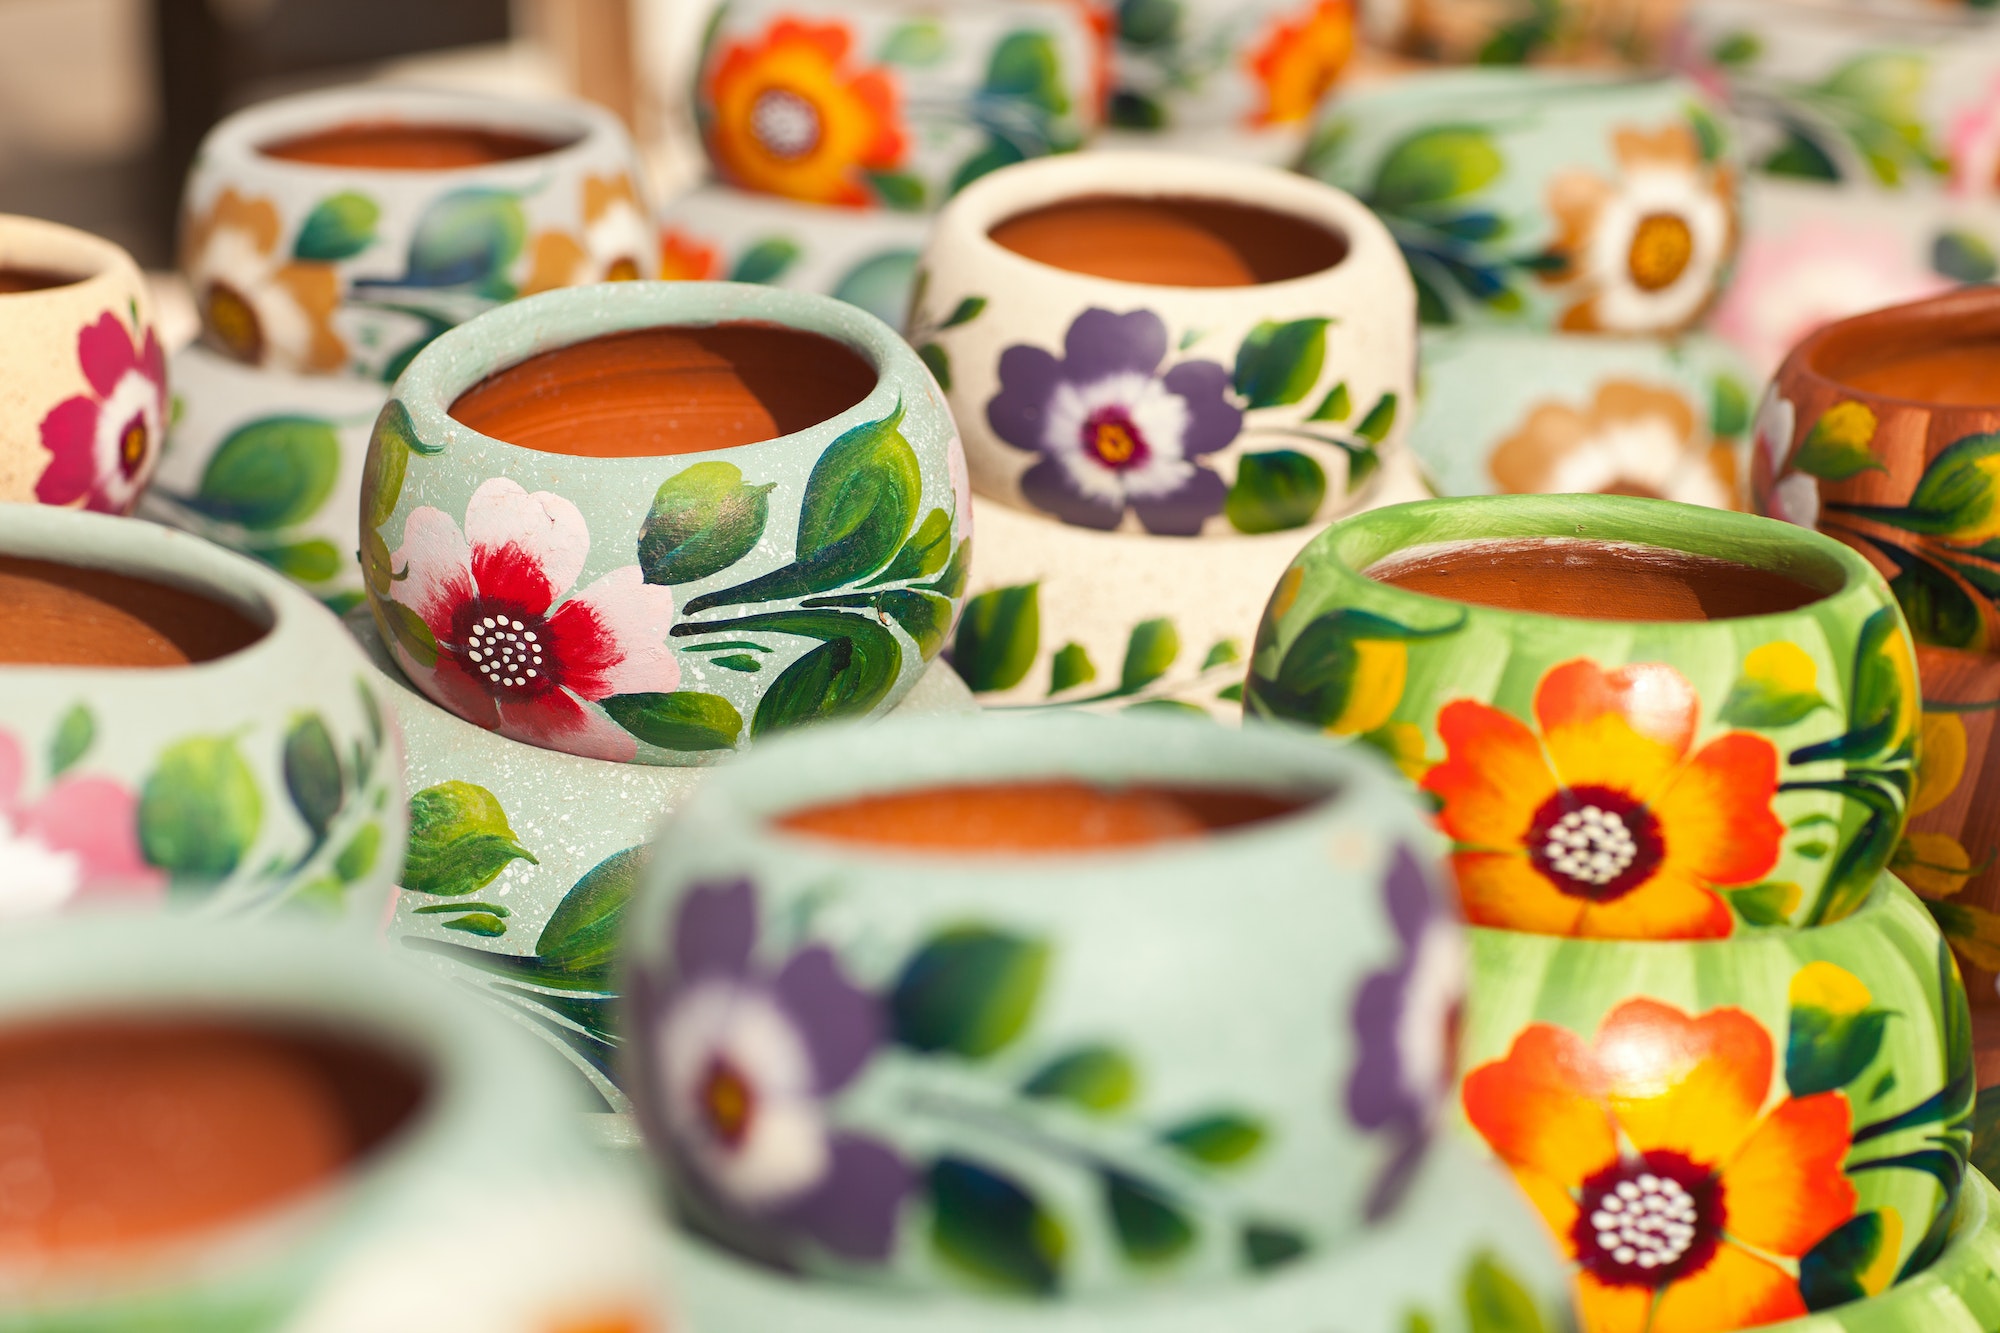
Painting Techniques on Different Surfaces
Once your ceramic or porcelain piece is prepared, it’s time to start painting! There are various techniques you can use to create different effects and styles on your piece. Here are a few popular painting techniques to consider:
- Stenciling: Stencils can be used to create clean, crisp designs on your ceramic or porcelain surface. Simply tape the stencil onto the item, making sure it is secure and flat against the surface. Then, use a sponge or brush to apply paint over the stencil, being careful not to overload the brush with paint, which can cause bleeding underneath the stencil.
- Sponging: This technique involves using a sponge to apply paint in a dabbing motion, creating a textured effect on the ceramic or porcelain surface. You can use different colors and layer them for added depth and interest.
- Dry brushing: Dry brushing is a technique where you apply a small amount of paint to a brush, then remove most of it by wiping the brush on a paper towel or cloth. The remaining paint on the brush is then lightly brushed onto the ceramic or porcelain surface, creating subtle color variations and a more natural look.
- Marbling: Marbling involves swirling two or more paint colors together on the ceramic or porcelain surface to create a marble-like effect. This technique can be achieved by applying one color first, then adding drops of another color and using a toothpick or skewer to swirl the colors together.
- Hand-painting: For those with a steady hand and artistic skills, hand-painting designs onto ceramic or porcelain surfaces can be incredibly rewarding. Use fine brushes and take your time to create intricate patterns, scenes, or even portraits.
After you’ve finished painting your ceramic or porcelain piece, allow it to dry completely before handling or displaying it. If you used specialized ceramic or porcelain paint that requires baking, follow the manufacturer’s instructions for baking your piece in an oven.
By preparing your ceramic or porcelain surface properly and experimenting with various painting techniques, you can create beautiful, one-of-a-kind pieces that will be cherished for years to come.
