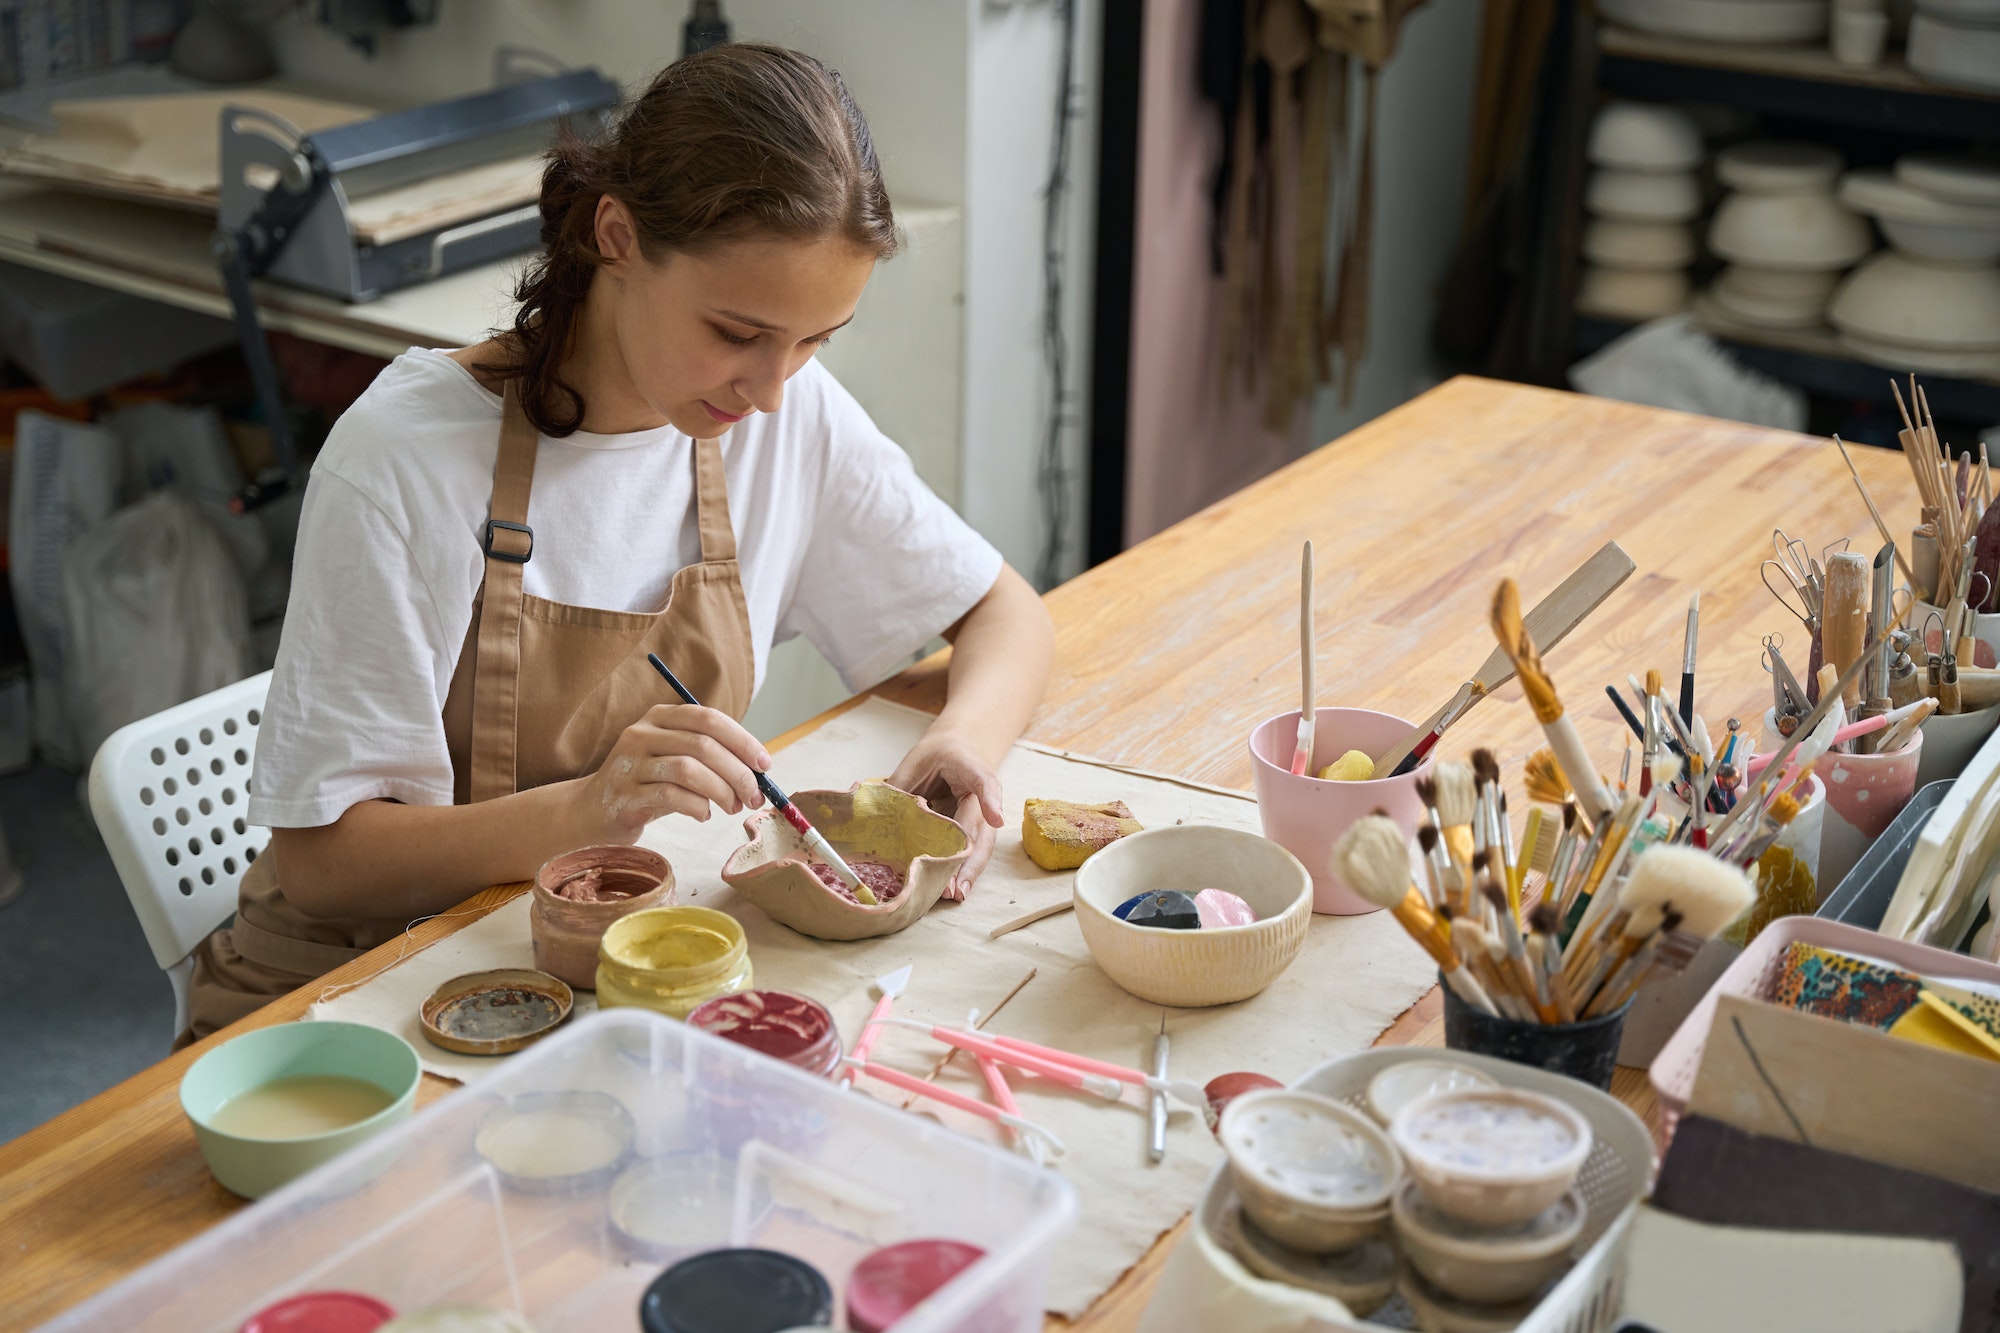
Creating beautiful sculptures using polymer and air-dry clay has become increasingly popular among artists and craft enthusiasts. One of the essential steps in completing your clay masterpiece is applying the right finishes and sealants to ensure its longevity and enhance its appearance. In this article, we will explore various acrylic paints, finishes, and sealants suitable for polymer and air-dry clay sculptures, as well as tips for finishing and preserving your creations.
Acrylic Paints for Polymer and Air-Dry Clay Sculptures
Acrylic paints are an excellent choice for painting polymer and air-dry clay sculptures due to their versatility, quick drying time, and ease of use. They are water-based, which makes them easy to clean up and thin out if needed. When selecting acrylic paints for your clay sculptures, opt for high-quality, artist-grade paints that provide better pigmentation and coverage.
Before painting your sculpture, make sure the clay is clean and dry. You can apply a primer or gesso to the surface of your sculpture to create a smooth base for the paint. This step is especially helpful if you’re working with air-dry clay, which can be more porous than polymer clay.
Use a soft brush to apply thin layers of paint, allowing each layer to dry before adding another. This technique will help you achieve even coverage without visible brush strokes. Once you have achieved the desired color intensity, allow the paint to dry completely before moving on to sealing or varnishing.
Applying Finishes and Sealants
After painting your sculpture, it’s essential to apply a finish or sealant to protect the paint and enhance the overall appearance. There are several finishes available for polymer and air-dry clay sculptures:
- Matte finish: A matte finish provides a non-reflective surface that allows colors to appear more vibrant. It’s perfect for sculptures with intricate details or those that will be displayed under bright lights.
- Gloss finish: A gloss finish adds a shiny, reflective surface to your sculpture, giving it a polished and professional look. This finish is ideal for smooth surfaces and simple designs.
- Satin finish: A satin finish offers a balance between matte and gloss finishes. It provides a subtle sheen without being overly reflective, making it suitable for most sculptures.
When selecting a sealant, choose one specifically designed for use with acrylic paints. Some popular options include acrylic varnish, spray sealants, and wax-based sealants. Follow the manufacturer’s instructions for applying the sealant and ensure your sculpture is completely dry before proceeding.
Finishing and Preserving Your Clay Creations
After applying the paint and sealant, you may want to add some finishing touches to your sculpture. Here are some ideas:
- Add embellishments: You can attach beads, crystals, or other small decorative items using strong adhesive or by embedding them directly into the clay.
- Create a base or stand: Design a custom base or stand to display your sculpture and provide additional stability.
- Apply a protective coating: If your sculpture will be exposed to the elements or handled frequently, consider applying an additional protective coating such as a clear polyurethane spray.
To preserve your clay creations, follow these tips:
- Avoid direct sunlight: Prolonged exposure to sunlight can cause colors to fade or become discolored. Display your sculpture in a location away from direct sunlight.
- Clean gently: To clean your sculpture, use a soft brush or cloth to remove dust and debris. Avoid using water or cleaning products, as they can damage the paint or sealant.
- Store properly: If you need to store your sculpture, wrap it in acid-free tissue paper and place it in a sturdy box with padding to prevent damage during transport.
By using the appropriate acrylic paints, finishes, and sealants for your polymer and air-dry clay sculptures, you can create beautiful, long-lasting works of art. Don’t forget to add those finishing touches and follow proper preservation techniques to ensure your creations stand the test of time.


