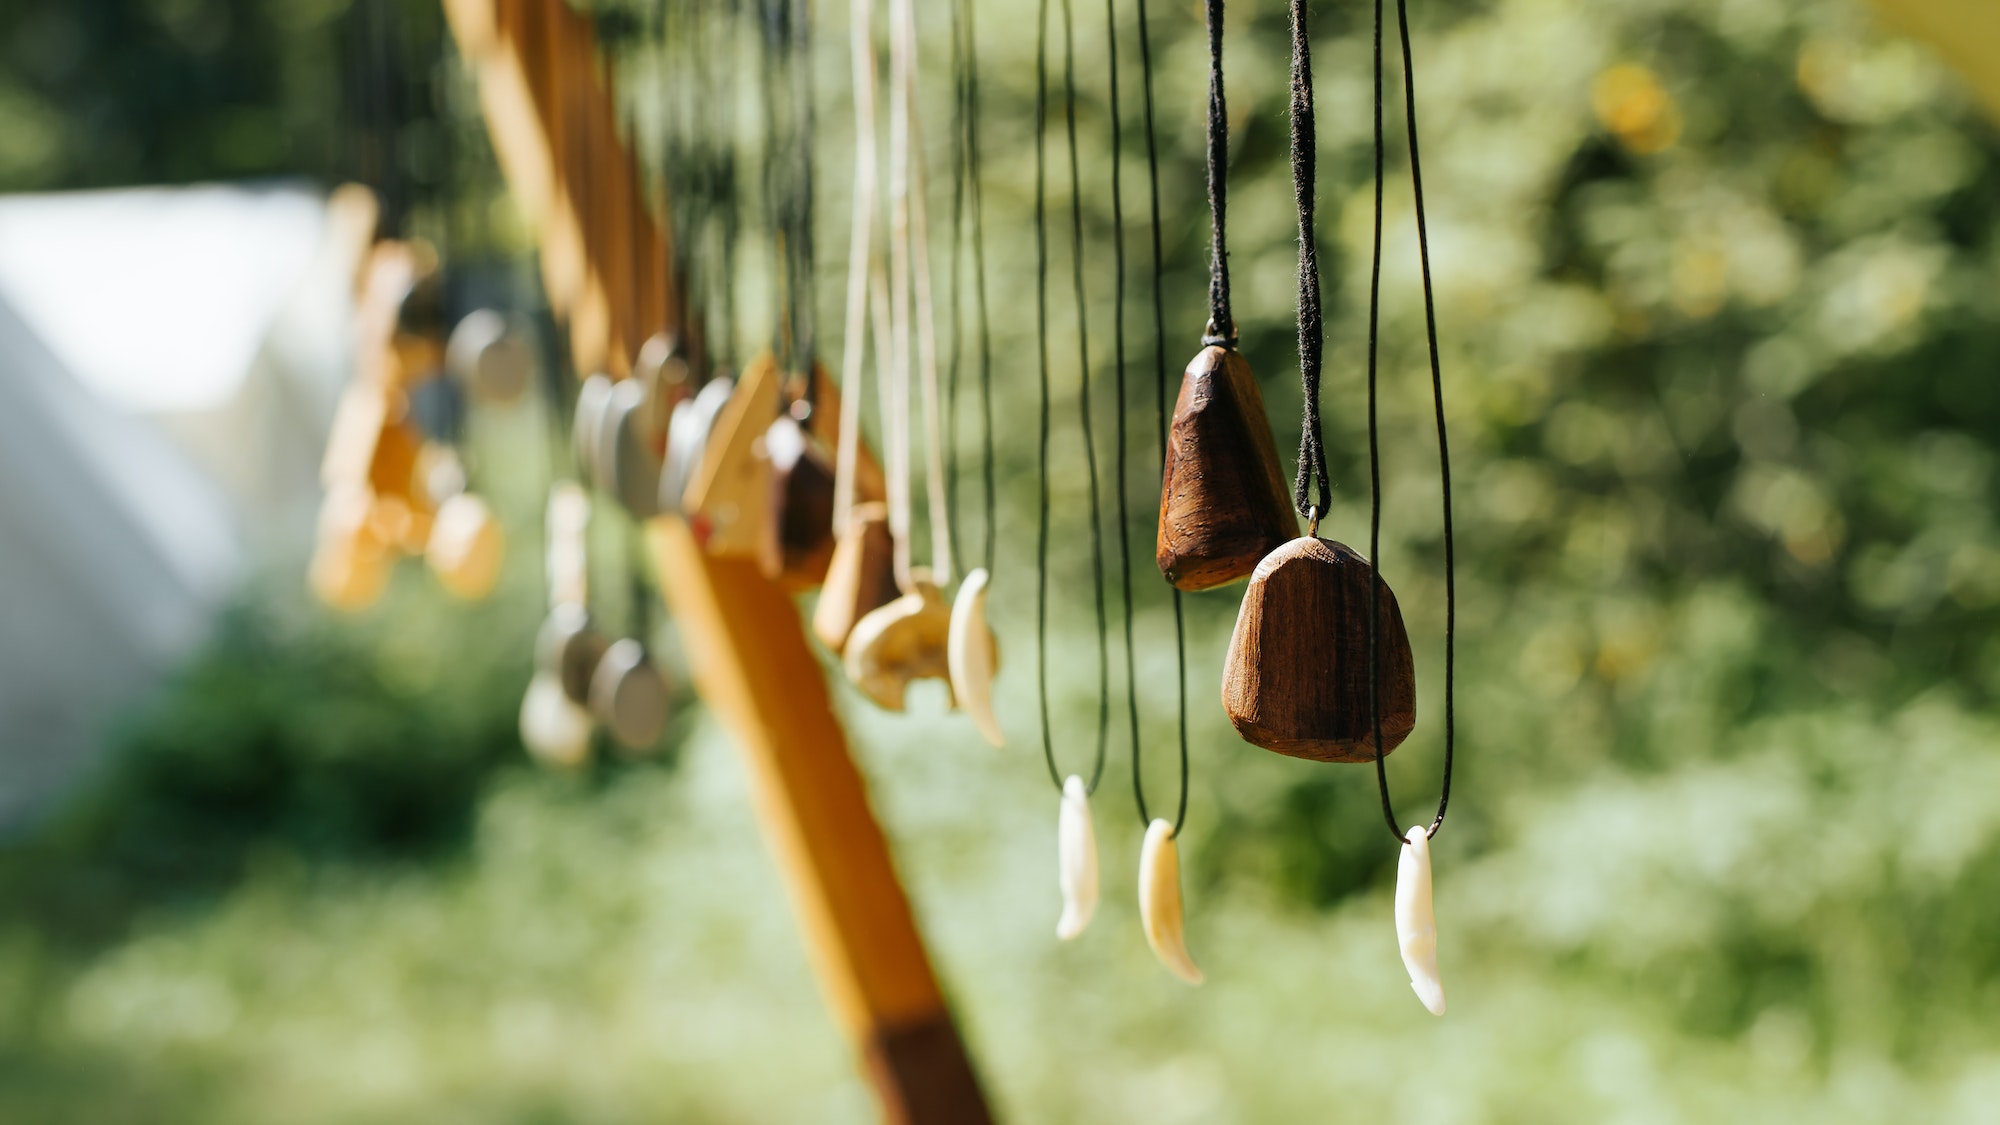
Jewelry making is a craft that has been around for centuries. It is a way to express personal style, creativity, and even cultural identity. Natural materials have always been popular in jewelry making, as they offer unique textures, colors, and patterns that cannot be found in synthetic materials. One such natural material that has gained popularity in recent years is wood. Wooden jewelry components can add a warm, earthy feel to any piece, and can be made using a variety of techniques.
Choosing the Right Wood
The first step in creating wooden jewelry components is selecting the right type of wood. There are many different species of wood available, each with its own unique characteristics. Some popular choices for wooden jewelry components include:
- Maple: A light-colored wood with a smooth grain pattern
- Walnut: A dark brown wood with a rich, warm tone
- Cherry: A reddish-brown wood with a smooth texture
- Oak: A strong and durable wood with a prominent grain pattern
- Bamboo: A lightweight and sustainable option with a distinctive look
When choosing wood for your jewelry pieces, consider factors such as color, grain pattern, hardness, and sustainability. It’s also important to ensure that the wood you choose is untreated and free from chemicals or pesticides.
Cutting and Shaping the Wood
Once you have selected your wood, it’s time to begin cutting and shaping it into the desired components for your jewelry pieces. There are several tools and techniques you can use to achieve this:
- Hand saws: Hand saws are ideal for cutting small pieces of wood and intricate shapes. Choose a fine-toothed saw for precise cuts.
- Coping saw: This type of saw has a thin blade that allows for intricate curves and designs.
- Scroll saw: A scroll saw is an electric tool that uses a thin blade to make detailed cuts in wood. It’s perfect for creating intricate shapes and patterns.
- Dremel or rotary tool: These versatile tools can be used to cut, shape, and sand small wooden components. Use a variety of attachments to achieve the desired effect.
When cutting and shaping your wooden jewelry components, always work slowly and carefully to avoid damaging the wood or injuring yourself. Make sure to keep your fingers away from the cutting edge of any tools and wear protective eyewear when using power tools.
Finishing the Wood
After your wooden components are cut and shaped, it’s important to finish them properly to ensure they are smooth, comfortable to wear, and protected from damage. There are several methods for finishing wood, including:
- Sanding: Sanding is essential for smoothing out any rough edges or imperfections in the wood. Start with a coarse grit sandpaper and work your way up to a fine grit for a smooth finish.
- Staining: If you want to change or enhance the color of your wooden components, you can use wood stain or dye. Apply the stain with a brush or cloth, then wipe off any excess before allowing it to dry completely.
- Sealing: To protect your wooden jewelry components from moisture, dirt, and general wear and tear, it’s important to seal them with a clear finish. You can use products like polyurethane, shellac, or wax for this purpose.
Assembling Your Wooden Jewelry
Now that your wooden components are prepared, it’s time to assemble your jewelry pieces. There are countless ways to incorporate wooden elements into your designs, such as using them as beads, pendants, or connectors. Combine your wooden components with other natural materials like gemstones, shells, or feathers for an earthy look, or mix them with metal findings for a more modern style.
When assembling your wooden jewelry pieces, consider using techniques like wire wrapping, bead stringing, or knotting to create unique and interesting designs. With a little creativity and patience, you can create stunning wooden jewelry that showcases the beauty of natural materials.


