
Air-drying clay is a popular choice for artists and crafters who want to create sculptures without the need for a kiln or oven. This type of clay is versatile, easy to work with, and can be used for a wide range of projects. However, it is essential to understand the proper techniques for drying and finishing your air-dry clay sculptures to ensure the best results and preserve your artwork for years to come.
Drying Your Air-Dry Clay Sculpture
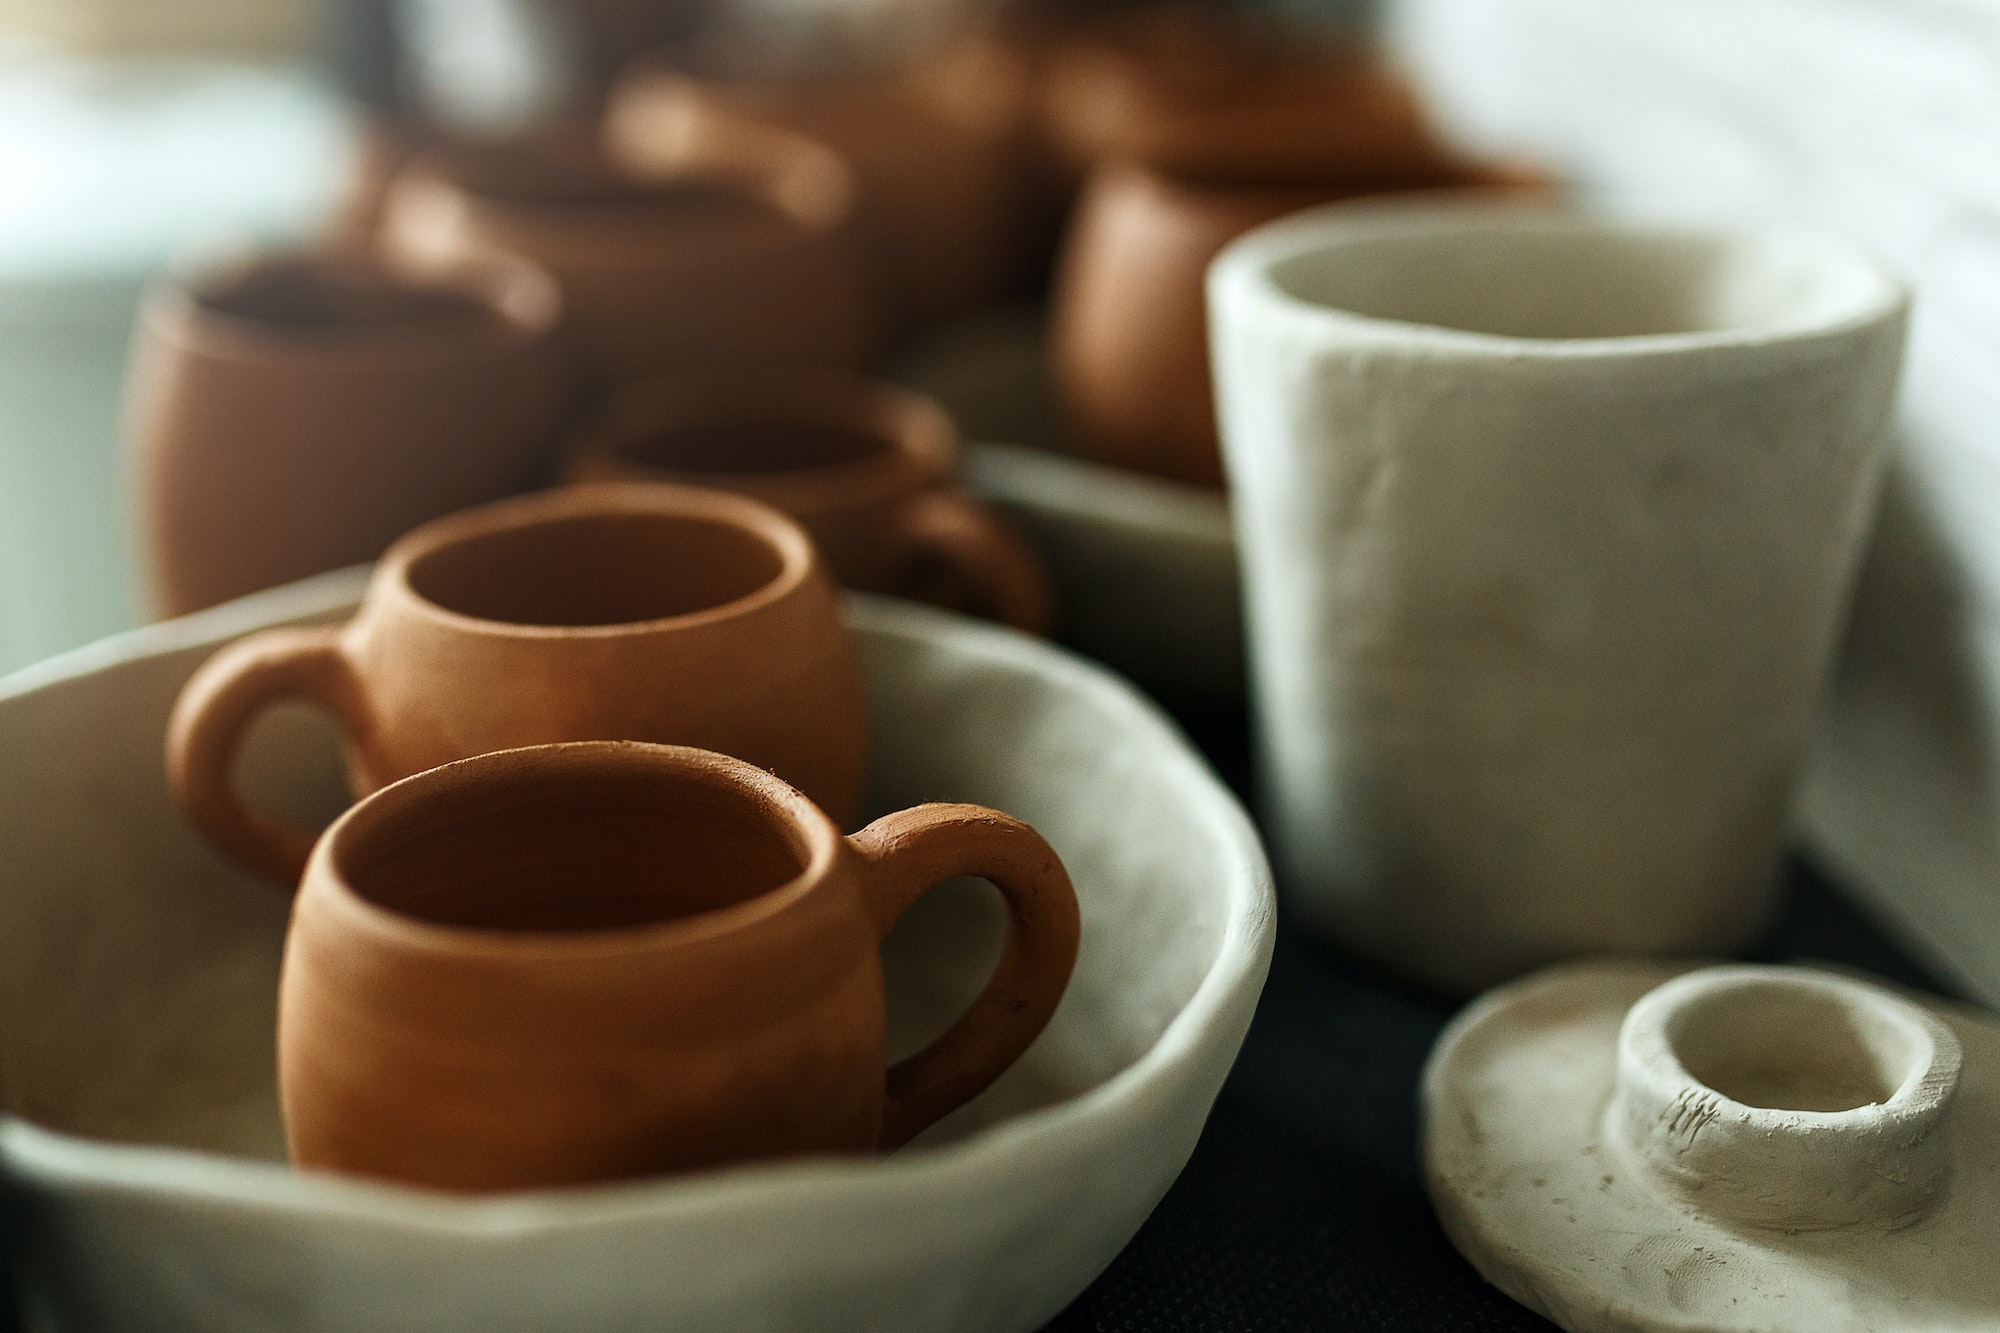
The first step in creating a successful air-dry clay sculpture is allowing it to dry properly. This process can vary depending on the type of clay you are using, as well as the size and thickness of your sculpture. Here are some general guidelines to follow:
- Choose the right clay: There are several types of air-dry clays available on the market, each with its own unique properties. Some clays, such as paper clay and polymer clay, dry quickly and evenly, while others may require more time or special drying techniques. Be sure to choose a clay that best suits your project’s needs.
- Allow for proper drying time: Most air-dry clays will take anywhere from 24 hours to several days to dry completely, depending on the size and thickness of your sculpture. Thinner pieces will dry faster than thicker ones, so be sure to allow ample time for your artwork to dry before moving on to the finishing steps.
- Dry your sculpture evenly: To prevent cracking or warping, it is crucial to ensure that your sculpture dries evenly. This can be achieved by rotating your piece periodically during the drying process and placing it in an area with consistent temperature and humidity levels.
- Avoid direct sunlight or heat sources: While it may be tempting to speed up the drying process by placing your sculpture near a sunny window or heat source, this can lead to uneven drying and potential damage. Instead, keep your artwork in a cool, dry place away from direct sunlight and heat.
Finishing and Preserving Your Air-Dry Clay Creations
Once your sculpture has dried completely, it is time to add the finishing touches and protect your artwork for long-term display. Here are some tips for finishing and preserving your air-dry clay creations:
- Smooth out imperfections: If you notice any cracks or rough spots on your dried sculpture, use a fine-grit sandpaper to gently smooth out the surface. Be sure to wear a mask when sanding to avoid inhaling dust particles.
- Apply a sealant: To protect your sculpture from moisture and environmental damage, apply a clear sealant such as acrylic varnish or spray-on sealant. This will help preserve the colors and integrity of your artwork while providing a professional finish.
- Add color and detail: You can use acrylic paints, markers, or other art materials to add color and detail to your dried sculpture. Be sure to apply a thin layer of paint or ink to avoid adding too much moisture to the clay surface.
- Display your artwork with care: Once your air-dry clay sculpture is complete, choose a suitable location for display that is free from direct sunlight, extreme temperatures, and high humidity levels. This will help ensure that your artwork remains in excellent condition for years to come.
In conclusion, air-drying clay sculptures can be a fun and rewarding creative endeavor when the proper techniques are used for drying and finishing the artwork. By following these guidelines, you can create beautiful sculptures that will stand the test of time and bring enjoyment for years to come.
